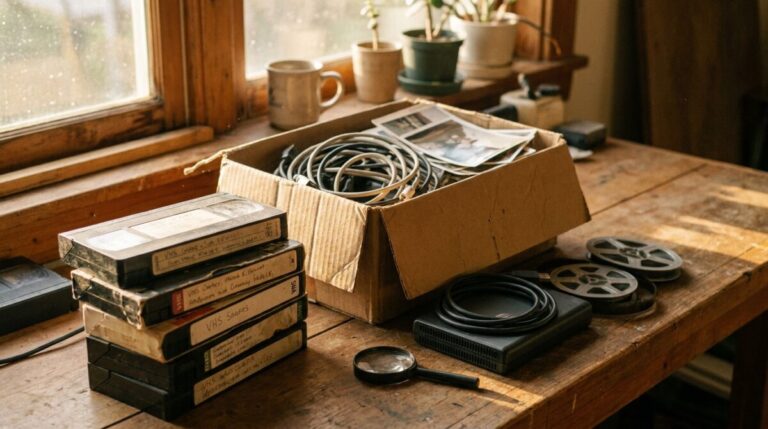
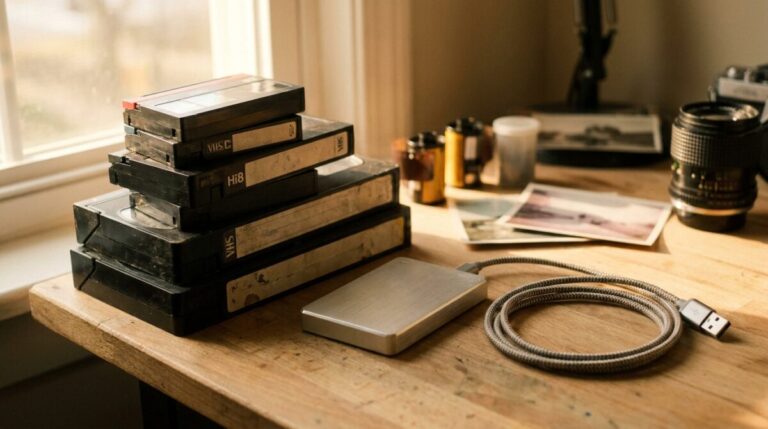
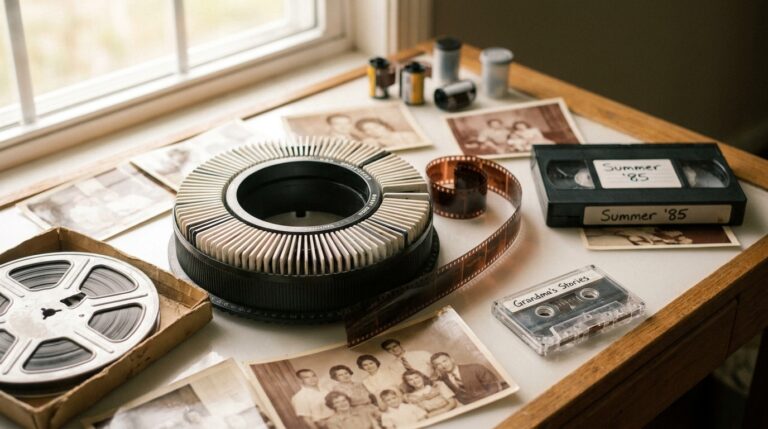
To convert film to digital, your reel is cleaned and inspected, then scanned one frame at a time at Full HD or 2K resolution with grain reduction and accurate color correction, and delivered as digital files on a hard drive, DVD, Blu-ray, USB drive or SD card. That is the entire process in one sentence. The single most important thing to know before you begin: do not project your old film to preview it first. That one step is where most damage happens, and it is the mistake we see most often.
The belief we have to correct first: “I’ll just watch it once to see what’s on there”
It feels harmless. Thread the reel, flip the switch, see if it is Grandma’s wedding or an empty roll. But a projector is not a viewer, it is a heat lamp with moving parts. The bulb dries the film out, and the transport rubs against the emulsion and leaves scratches across the surface. Those scratches are permanent, and every scan you make afterward will include them.
If you want to know what is on a reel, hold a few frames up to a window or a lamp. That tells you plenty. Then let a scanner do the rest. This is the same principle behind our 8mm and 16mm film transfer service, where reels are handled once, carefully, rather than run repeatedly through equipment that wears them down.
Every time you run old film through a projector, bulb heat dries the film and the transport rubs against it, leaving scratches that no digital scan can undo.
What actually happens, step by step
1. Cleaning and inspection
Decades in a closet leave dust, dried splices, brittle leader and sometimes a warped edge. Every reel gets looked at and cleaned before anything spins. Skipping this stage means scanning the dirt right into your final file.
2. Frame-by-frame scanning
This is the part that separates a real transfer from a shortcut. The scanner captures a separate image of each individual frame at Full HD or 2K resolution. No projection, no camera pointed at a screen, no flicker rolling through your footage. Our page on how we transfer film differently walks through this stage in more detail, because this is where most of the quality is won or lost.
Here is the honest tradeoff: this step alone takes two to three times the running length of your film. A 20-minute reel is close to an hour of scanning before anyone touches color. Real quality is not a same-hour service.
3. Grain reduction and color correction
Old film shifts. Reds fade, everything drifts warm or magenta, and grain gets heavy in dim indoor shots. Grain reduction and accurate color correction bring the image back toward what the camera actually saw. This work happens on top of the scanning time, not inside it.
4. Delivery
You choose the format: hard drive, DVD, Blu-ray, USB drive or SD card. Digital files play on phones, laptops and smart TVs and can be copied and shared without wearing out. And your original reels come back to you, carefully packaged, alongside the digital copies.
Which films can be converted?
Regular 8mm, Super 8, 16mm and Technicolor reel-to-reel all convert. In plain language: 8mm and Super 8 are the small home-movie formats most families shot from the 1930s through the 1970s, and 16mm is the wider format used for more serious amateur work, school films and some professional shoots. The scanning approach is the same for all of them, though 16mm reels are longer and priced by the foot, so it helps to know what a 400 ft 16mm reel actually costs to transfer before you sort your boxes. If your boxes also hold negatives or slides, those are a separate workflow – see negative scanning and digitization for how strips and rolls are handled.
DIY versus professional: the math people get wrong
The assumption is that doing it yourself is cheaper. Not always. A high quality film transfer machine can easily run into the thousands of dollars, and even then your results depend on your own test runs and exposure settings. There is a learning curve, and the material you are practicing on is irreplaceable.
DIY quality varies widely, and the risk of damaging the original during handling is real. If you still want to try it at home, the three DIY methods for converting 8mm film to digital range from filming the projected image to frame-by-frame capture with a DSLR adapter, each with its own tradeoff in time and quality. For a one-time project – a box of reels you will only ever do once – professional transfer is usually the better value and the lower risk. Our guide to converting 8mm film to digital lays out both paths if you want to weigh them yourself, and what it really takes to convert film to digital covers the cleaning, scanning and delivery stages in order.
Why timing matters more than people think
Film is not stable storage. Humidity and temperature have to stay in a narrow range or the image fades and the base becomes brittle. A reel that scans beautifully today may have visible fading and edge damage in five years. The same is true of magnetic tape, which sheds and loses signal as it ages. Digitizing earlier preserves more of what is actually on the media, because a scanner can only capture what still exists.
That is the whole argument for not waiting. Nothing about an unopened film can gets better with time.
What separates a careful transfer from a cheap one
Plenty of outlets will place your film on a projector and videotape the screen. It is fast and it is inexpensive, and it produces exactly what you would expect: flicker, hot spots, soft focus and the projector’s wear baked in permanently. High-volume mail-in services take a different shortcut, scanning at standard definition without color correction or restoration, which is worth understanding before you ship your only copies to a service like Legacy Box. Knowing which questions to ask a transfer service, and what should legitimately move the price, tells you far more than a quoted rate does, and because scanning is billed by the foot rather than by the reel, it also helps to see how film to digital transfer cost is calculated before you ship. Legacy Digital has been reconditioning and converting film for over 20 years, for more than 20,000 customers, using the same trusted process the Academy of Motion Pictures in Hollywood uses on its legacy archives, including original prints from Alfred Hitchcock. You can read more about why families choose Legacy Digital for film transfers.
Frequently asked questions
How long does it take to convert film to digital?
It varies by how many reels you have and their condition, but the scanning step alone takes two to three times the running length of your film. Cleaning, inspection, grain reduction and color correction are added on top of that. Anyone promising a same-hour turnaround is not scanning frame by frame.
Can I watch my film first to see what is on it?
Please do not project it. Projector bulb heat dries the film and the transport rubs the surface and causes scratches, and that damage is permanent. Hold a few frames up to a light source instead, or simply let the scan reveal what is there.
Do I get my original film reels back?
Yes. Originals are carefully packaged and returned with your new digital copies. The same is true of negatives and other originals you send in.
What resolution is film scanned at?
Full HD or 2K, with grain reduction and accurate color correction available to clean up decades of fading and heavy grain.
What formats can I get my transferred film on?
Hard drive, DVD, Blu-ray, USB drive or SD card. A hard drive or USB drive is the most flexible starting point, since digital files copy cleanly and can be backed up in more than one place.
Is it cheaper to convert film to digital myself?
Not always. A high quality film transfer machine can easily run into the thousands of dollars, and results depend on your own test runs and exposure settings. For a one-time box of family reels, professional transfer is usually both cheaper and safer.
What film formats can be converted?
8mm, Super 8, 16mm and Technicolor reel-to-reel film all convert to digital using the same frame-by-frame process.
A simple next step
You do not have to commit to anything to find out where you stand. Gather your reels, count them, and note anything that looks brittle, warped or moldy. Then request a free estimate and tell us what you have. We will tell you honestly what is worth transferring and what the process will involve. No pressure, and no reason to project anything in the meantime.
Reviewed by Scott Foster, Founder of Legacy Digital Productions, Orange, CA - transferring film, tape, slides, photos and audio in-house since 2001 - last updated August 15, 2026.
Sources for this article
- Process: cleaned and inspected, scanned one frame at a time at Full HD or 2K, grain reduction and accurate color correction, delivered on hard drive, DVD, Blu-ray, USB or SD card
- Do not project old film to preview it first - that step is where most damage happens
- Scanning step alone takes two to three times the running length of the film; cleaning, inspection, grain reduction and color correction are on top of that
- Legacy Digital handles 8mm, Super 8, 16mm and Technicolor reel-to-reel film
- Same trusted process the Academy of Motion Pictures in Hollywood uses on its legacy archives, including original Alfred Hitchcock prints
- Projector bulb heat dries film; projectors rub against film causing scratches
- Humidity and temperature must be maintained or film fades and becomes brittle
- Over 20 years in business; over 20,000 satisfied customers
Facts drawn from this site's own documented knowledge and first-hand experience.