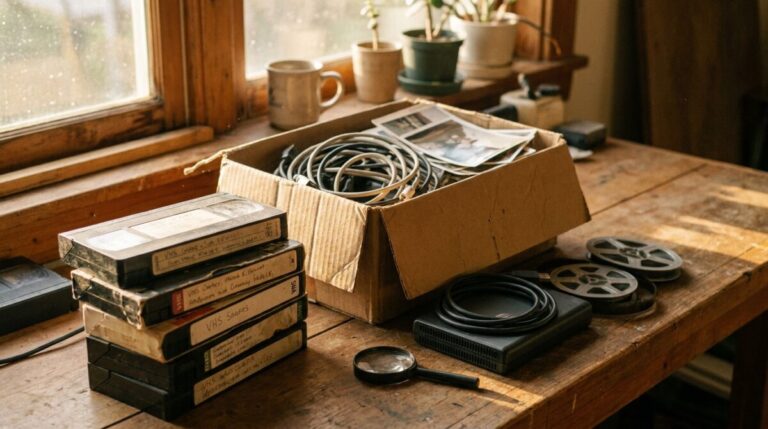
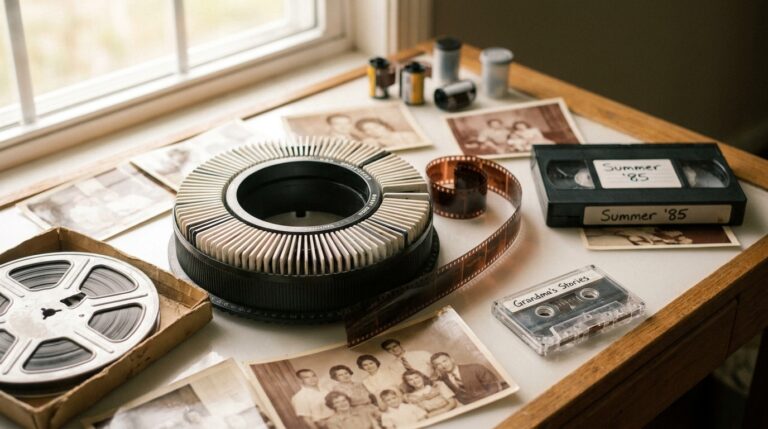
There are three realistic ways to convert 8mm film to digital yourself: record the projected image with a camera, capture the film frame by frame with a DSLR adapter, or run the reels through a consumer film transfer machine. The camera method is cheapest but produces jitter and flicker. Frame-by-frame gives the best DIY quality but can take several hours per small reel. A high quality transfer machine can easily run into the thousands of dollars. All three carry a greater chance of damaging the original film than professional scanning does, which is the tradeoff most people underestimate.
First, a quick correction: 8mm film is not 8mm tape
People search for “8mm to digital” meaning two completely different things. One is 8mm movie film, a physical strip of images on a reel that you hold up to the light. The other is Video8 or Hi8 camcorder tape, a plastic cassette with magnetic tape inside. They need entirely different equipment. Everything below is about film.
A bit of history helps here. The original 8mm format, sometimes called “Double 8,” was actually 16mm wide film with twice as many perforations along each edge as normal 16mm film. It was shot down one half, flipped, shot down the other, then split in processing. That design made home movies affordable for families during the Great Depression, which is exactly why so many households still have a box of these reels in a closet.
Method 1: Record the projected image with a camera
What you need
A working 8mm projector, a bulb that still lights, a clean white screen or wall, a tripod, and a camera or phone. That is genuinely it, which is why this is the most common starting point.
How it goes
Thread the reel, dim the room, line the camera up as close to square with the screen as you can, and record while the film plays. Do a short test first and check exposure before committing a whole reel.
The honest tradeoff
This method is relatively simple and cost effective and requires minimal equipment. But the quality of the resulting digital files may not be as high as with other methods, and the difference in frame rates between the film and the camera causes the playback to appear jittery and adds annoying flicker. You are also recording a reflection of a reflection, so you lose shadow detail and sharpness that is still sitting in the film itself. It works for a quick look at what is on a reel. It is not a preservation copy.
Method 2: Frame-by-frame scanning with a DSLR
What you need
A DSLR lens adapter rig, a camera you know how to operate manually, steady lighting, and a way to advance the film one frame at a time.
How it goes
You photograph each individual frame at high resolution, then assemble the stills into video. The output can be excellent: the DSLR is able to capture stunning images with no grain and maximum accuracy.
The honest tradeoff
It is extremely slow. It could take you several hours for each small reel even under the best of circumstances, because a single small reel means taking several thousand photos, one at a time. It also requires a certain level of technical knowledge and confidence with camera equipment, and there is a risk of damaging the original film during the process. Multiply those hours by the number of reels in your box before you start. That number is usually what ends the project.
This is the same principle professional labs use, which is why the results can be so good. The difference is that a lab does it with automated frame-by-frame handling rather than your thumb and a shutter button. Our overview of what it really takes to convert film to digital properly walks through why that distinction matters so much for fragile reels.
Method 3: A consumer film transfer machine
What you need
The machine itself, memory cards, and patience.
How it goes
You load the reel, the machine pulls the film through and digitizes it, and you get files out the other side. It is the most hands-off of the three DIY routes and provides a professional and efficient solution for digitizing film reels.
The honest tradeoff
Cost and setup. A high quality transfer machine can easily run into the thousands of dollars, and it still requires some technical know-how to operate. To get good results you need to run test runs and play around with exposure and contrast settings. Cheaper units exist, but the quality of files produced by DIY methods varies a lot. If you are comparing that spend against sending the reels out, it is worth reading our honest guide to Legacybox alternatives and how transfer services actually differ before you buy hardware you will use once.
The math people get wrong
The assumption is that doing it yourself is cheaper. Not always. For a one-time project, a box of reels you will only ever do once, the equipment cost alone rarely pays off, and your results still depend on your own test runs and exposure settings. There is a learning curve, and the material you are practicing on is irreplaceable.
A single small 8mm reel scanned frame by frame at home means photographing several thousand frames one at a time, which can take several hours per reel even when everything goes right.
Film also does not wait for you. Reels degrade over time, and the earlier they are digitized, the more of the original image quality survives into the digital copy. The same is true of magnetic tape, which is why the VHS and camcorder cassettes sitting next to your reels deserve the same urgency. If those are part of your pile, our piece on how long VHS tapes last before they degrade is a useful reality check.
When professional scanning is the better call
Choose DIY when you have a handful of reels, you enjoy the tinkering, and a rough digital record is enough. Choose professional scanning when the footage is irreplaceable, when there are more than a few reels, when the film is brittle, warped, or smells of vinegar, or when you simply want it done once and done right.
Professional services provide a more convenient and efficient solution with higher quality results and less risk of damaging the original film. The entire process is handled by experienced professionals with access to specialized equipment, and it follows a predictable sequence of cleaning, inspection, frame-by-frame scanning and delivery on the media you choose. That last part is the real value: you are not just buying files, you are buying the fact that nobody is learning on your only copy.
Tips that apply either way
- Handle film by the edges and keep it clean. Proper handling and cleaning of the original film is essential to a good result.
- Test on your least precious reel first, never the wedding or the first-birthday footage.
- Adjust exposure and contrast on a short section and review it before running the whole reel.
- Label reels before they leave their cans so you can match footage to families and dates later.
If you want the longer version of the DIY comparison, our guide to converting 8mm film to digital lays out each method in more detail so you can weigh them yourself.
Frequently asked questions
Can I just record my 8mm film off the wall with my phone?
You can, and it is the cheapest option. Expect jitter and flicker, though, because the film’s frame rate and your camera’s frame rate do not match, and expect softer, dimmer images than the film actually holds. It is fine for identifying what is on a reel. It is not a preservation quality copy.
How long does it take to convert 8mm film to digital yourself?
It depends entirely on the method. Recording the projection runs roughly in real time. Frame-by-frame DSLR scanning could take several hours for each small reel, since it means capturing several thousand individual photos one at a time. A transfer machine sits between the two but still needs test runs and setup time.
Is a home film transfer machine worth buying?
If you have a large ongoing volume, possibly. A high quality transfer machine can easily run into the thousands of dollars and still requires technical know-how and experimentation with exposure and contrast. For a single box of reels you will scan once and never again, the equipment cost alone rarely pays off.
Will DIY scanning damage my original film?
There is a greater chance of damaging the original film with DIY methods than with professional handling. Old splices give way, brittle film tears, and projector gates scratch. Careful handling and cleaning reduce the risk, but it does not disappear, and the film you are practicing on cannot be replaced.
Should I digitize my film now or wait?
Sooner is better. Film and magnetic tape both degrade over time, and the earlier the transfer happens, the more of the original quality carries over into the digital file. Waiting does not preserve anything, it just narrows what can be recovered.
A simple next step
If you have read this far and the box of reels still feels like more project than you want, that is a perfectly reasonable conclusion. You can request a simple quote to see what your specific reels would cost to have scanned. No obligation, and no need to decide anything today. Even just counting and labeling your reels this week puts you further ahead than most people ever get.
Reviewed by Scott Foster, Founder of Legacy Digital Productions, Orange, CA - transferring film, tape, slides, photos and audio in-house since 2001 - last updated September 7, 2026.
Sources for this article
- Three methods: recording with a camera, frame-by-frame scanning, film transfer machine (8mm guide)
- Camera recording: simple, cheap, but frame rate mismatch causes jitter and flicker; lower quality
- Frame-by-frame DSLR adapter: high resolution, no grain, maximum accuracy, but slow - several hours per small reel, several thousand photos one at a time; requires technical confide
- Film transfer machine: professional and efficient, can easily run into the thousands of dollars, requires test runs and exposure/contrast adjustment
- DIY quality varies widely; greater risk of damaging the original film
- Professional services: convenience, higher quality, less risk, specialized equipment, satisfaction guarantee
- Original 8mm ('Double 8') was 16mm wide film with twice as many perforations along each edge as normal 16mm, popular and affordable during the Great Depression
- Tips: proper handling and cleaning of original film, testing and adjustment
Facts drawn from this site's own documented knowledge and first-hand experience.